DIY Wedding Ideas II

A while back, I blogged about my sister’s wedding, you can read about it here.  The wedding is less than a month away and we are so excited!  As I was going through the wedding planning check list, I realized it’s been a long time since I’ve blogged anything else about the big day.

Honestly, it’s been awhile since I’ve blogged at all.  So busy with life and everything going on that I guess I just haven’t made time to put pen to paper, or in this case, keyboard to word doc.  Blogger’s block I call it.  I finally turned on my laptop this morning and decided to share another DIY wedding idea.

To complete the flower girls’ look, we decided on cute flower crowns.  Flower crowns aren’t just gorgeous, they’re a simple way to add an elegant touch to any look.  They’re inexpensive, available online, in stores like Claire’s, or you can make them yourself.  Just google “how to make a flower crown” and you’ll find plenty of blogs, articles and video tutorials on how to DIY.  Here are the sources I used to get started:

Click here for step-by-step instructions.

Or check out YouTube here for video tutorials.

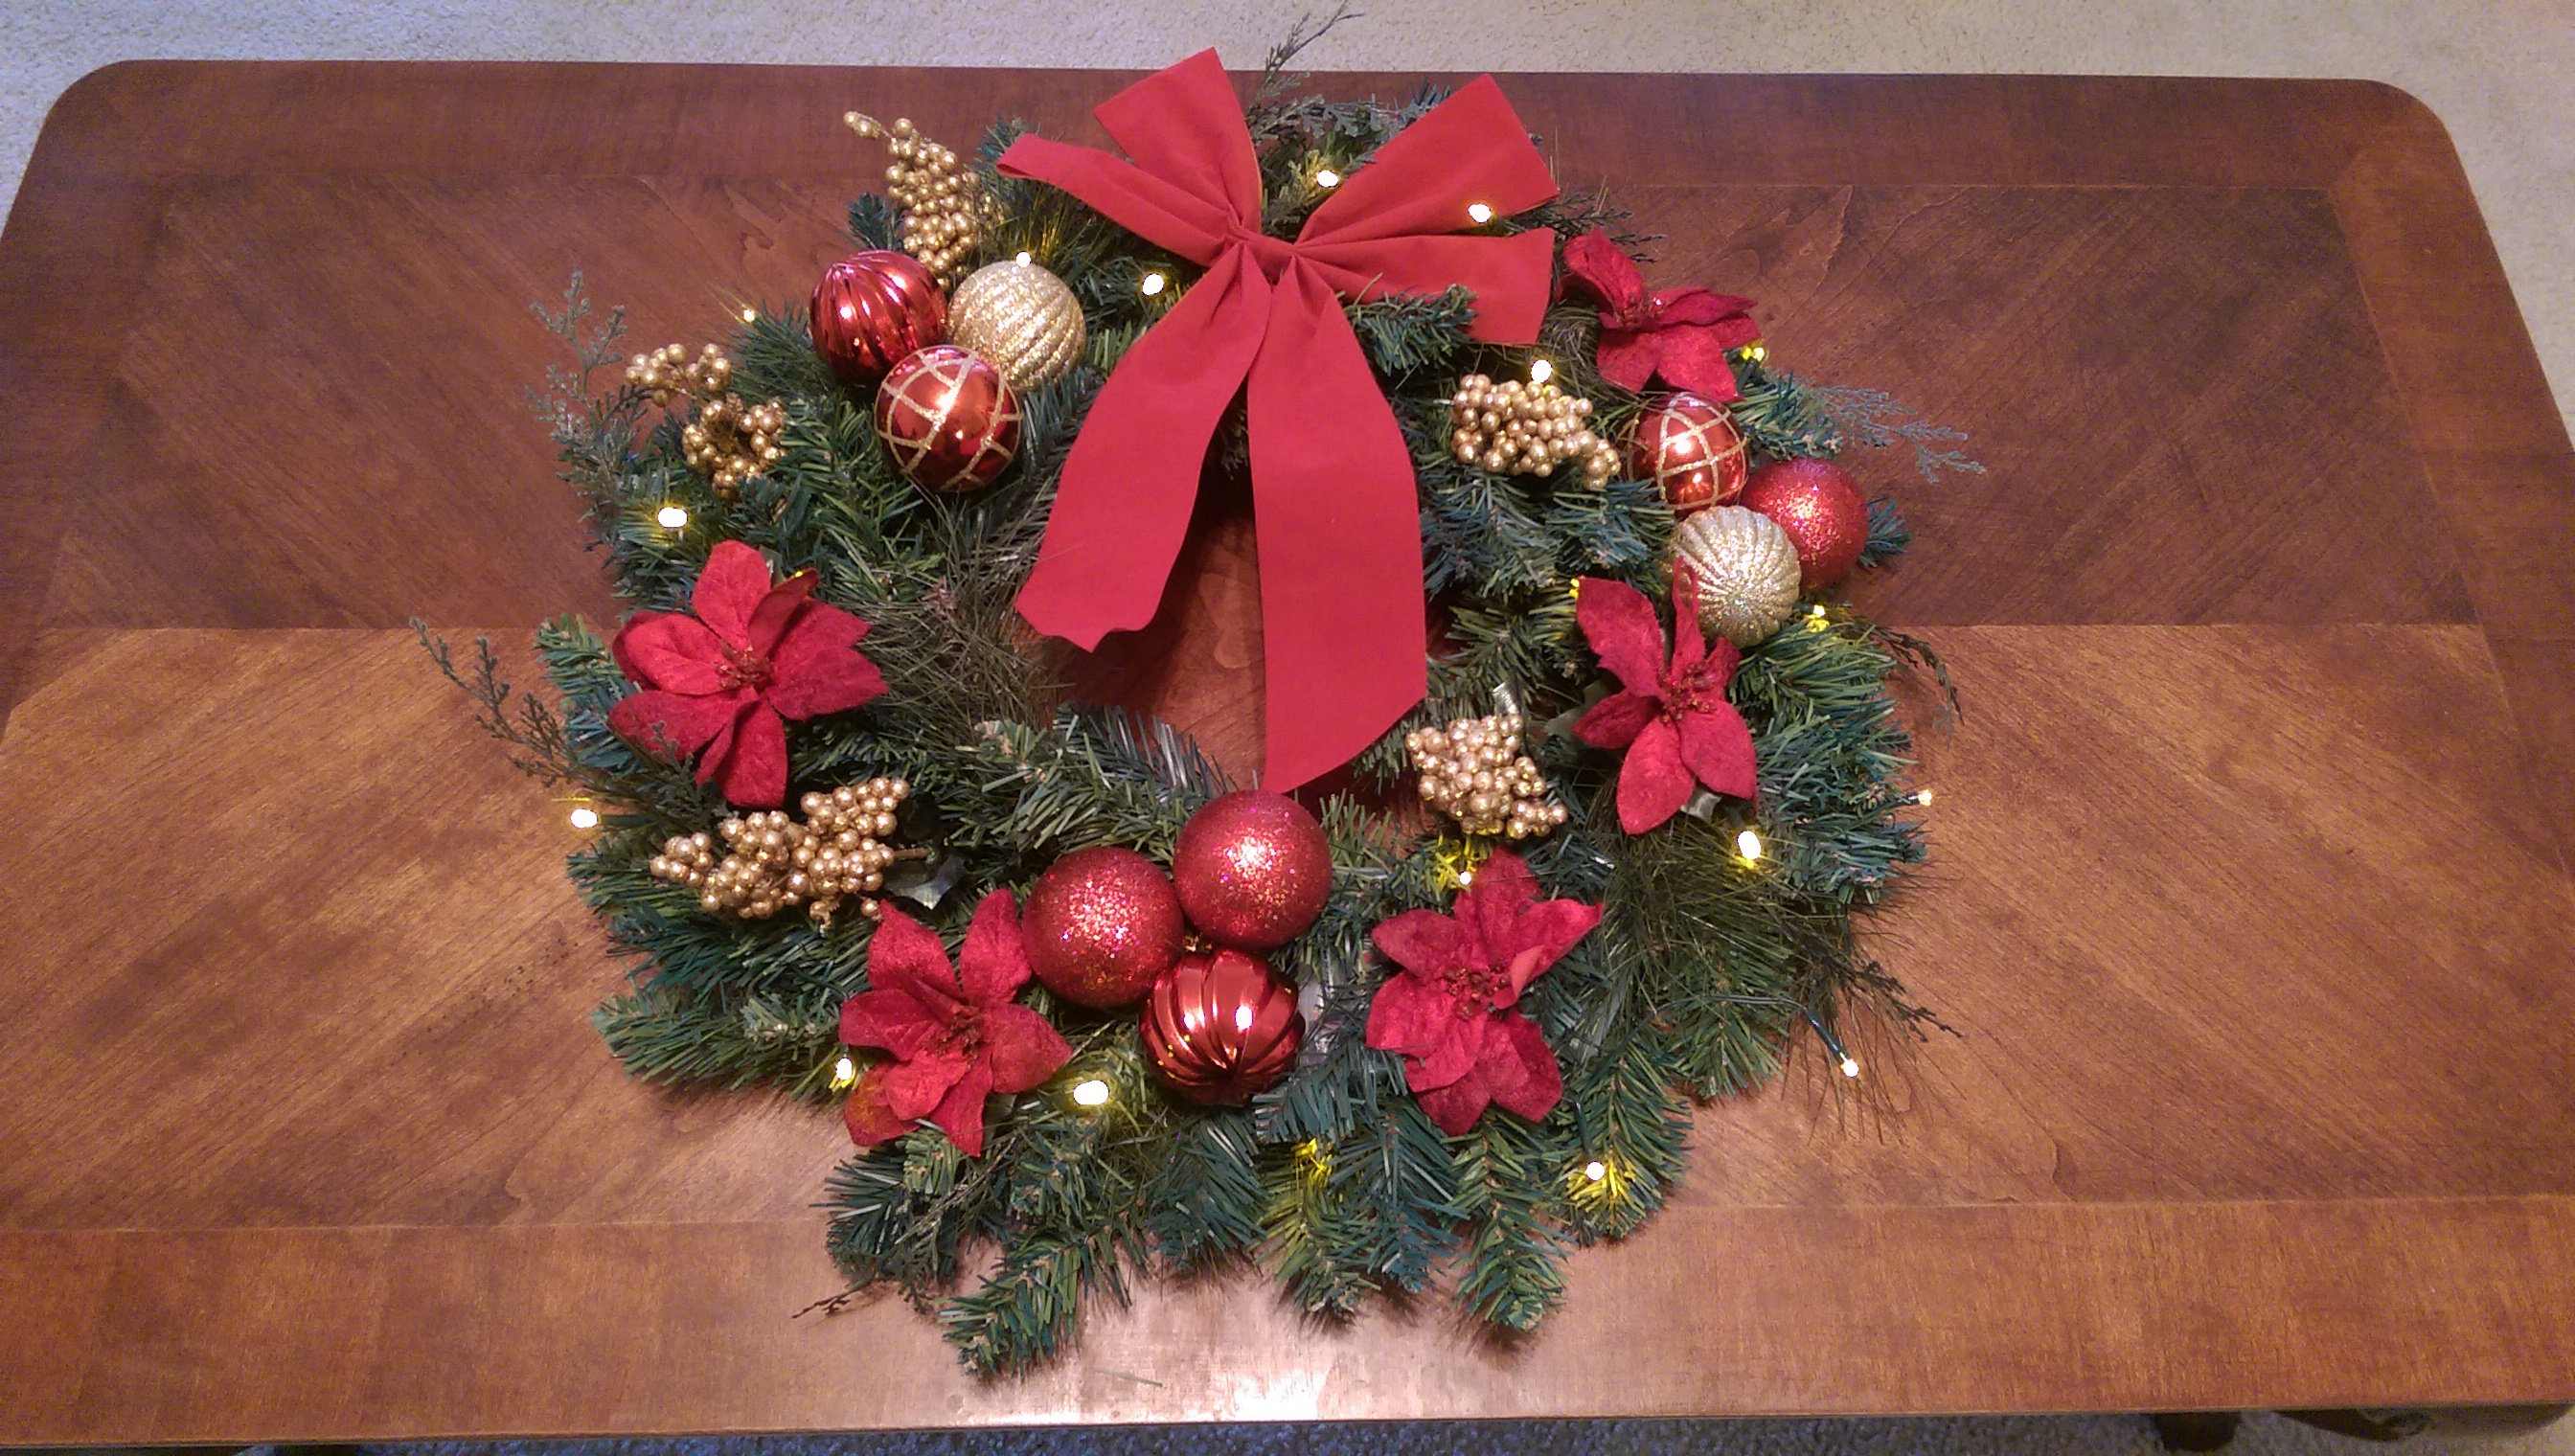
Look at these beautiful flower crowns:

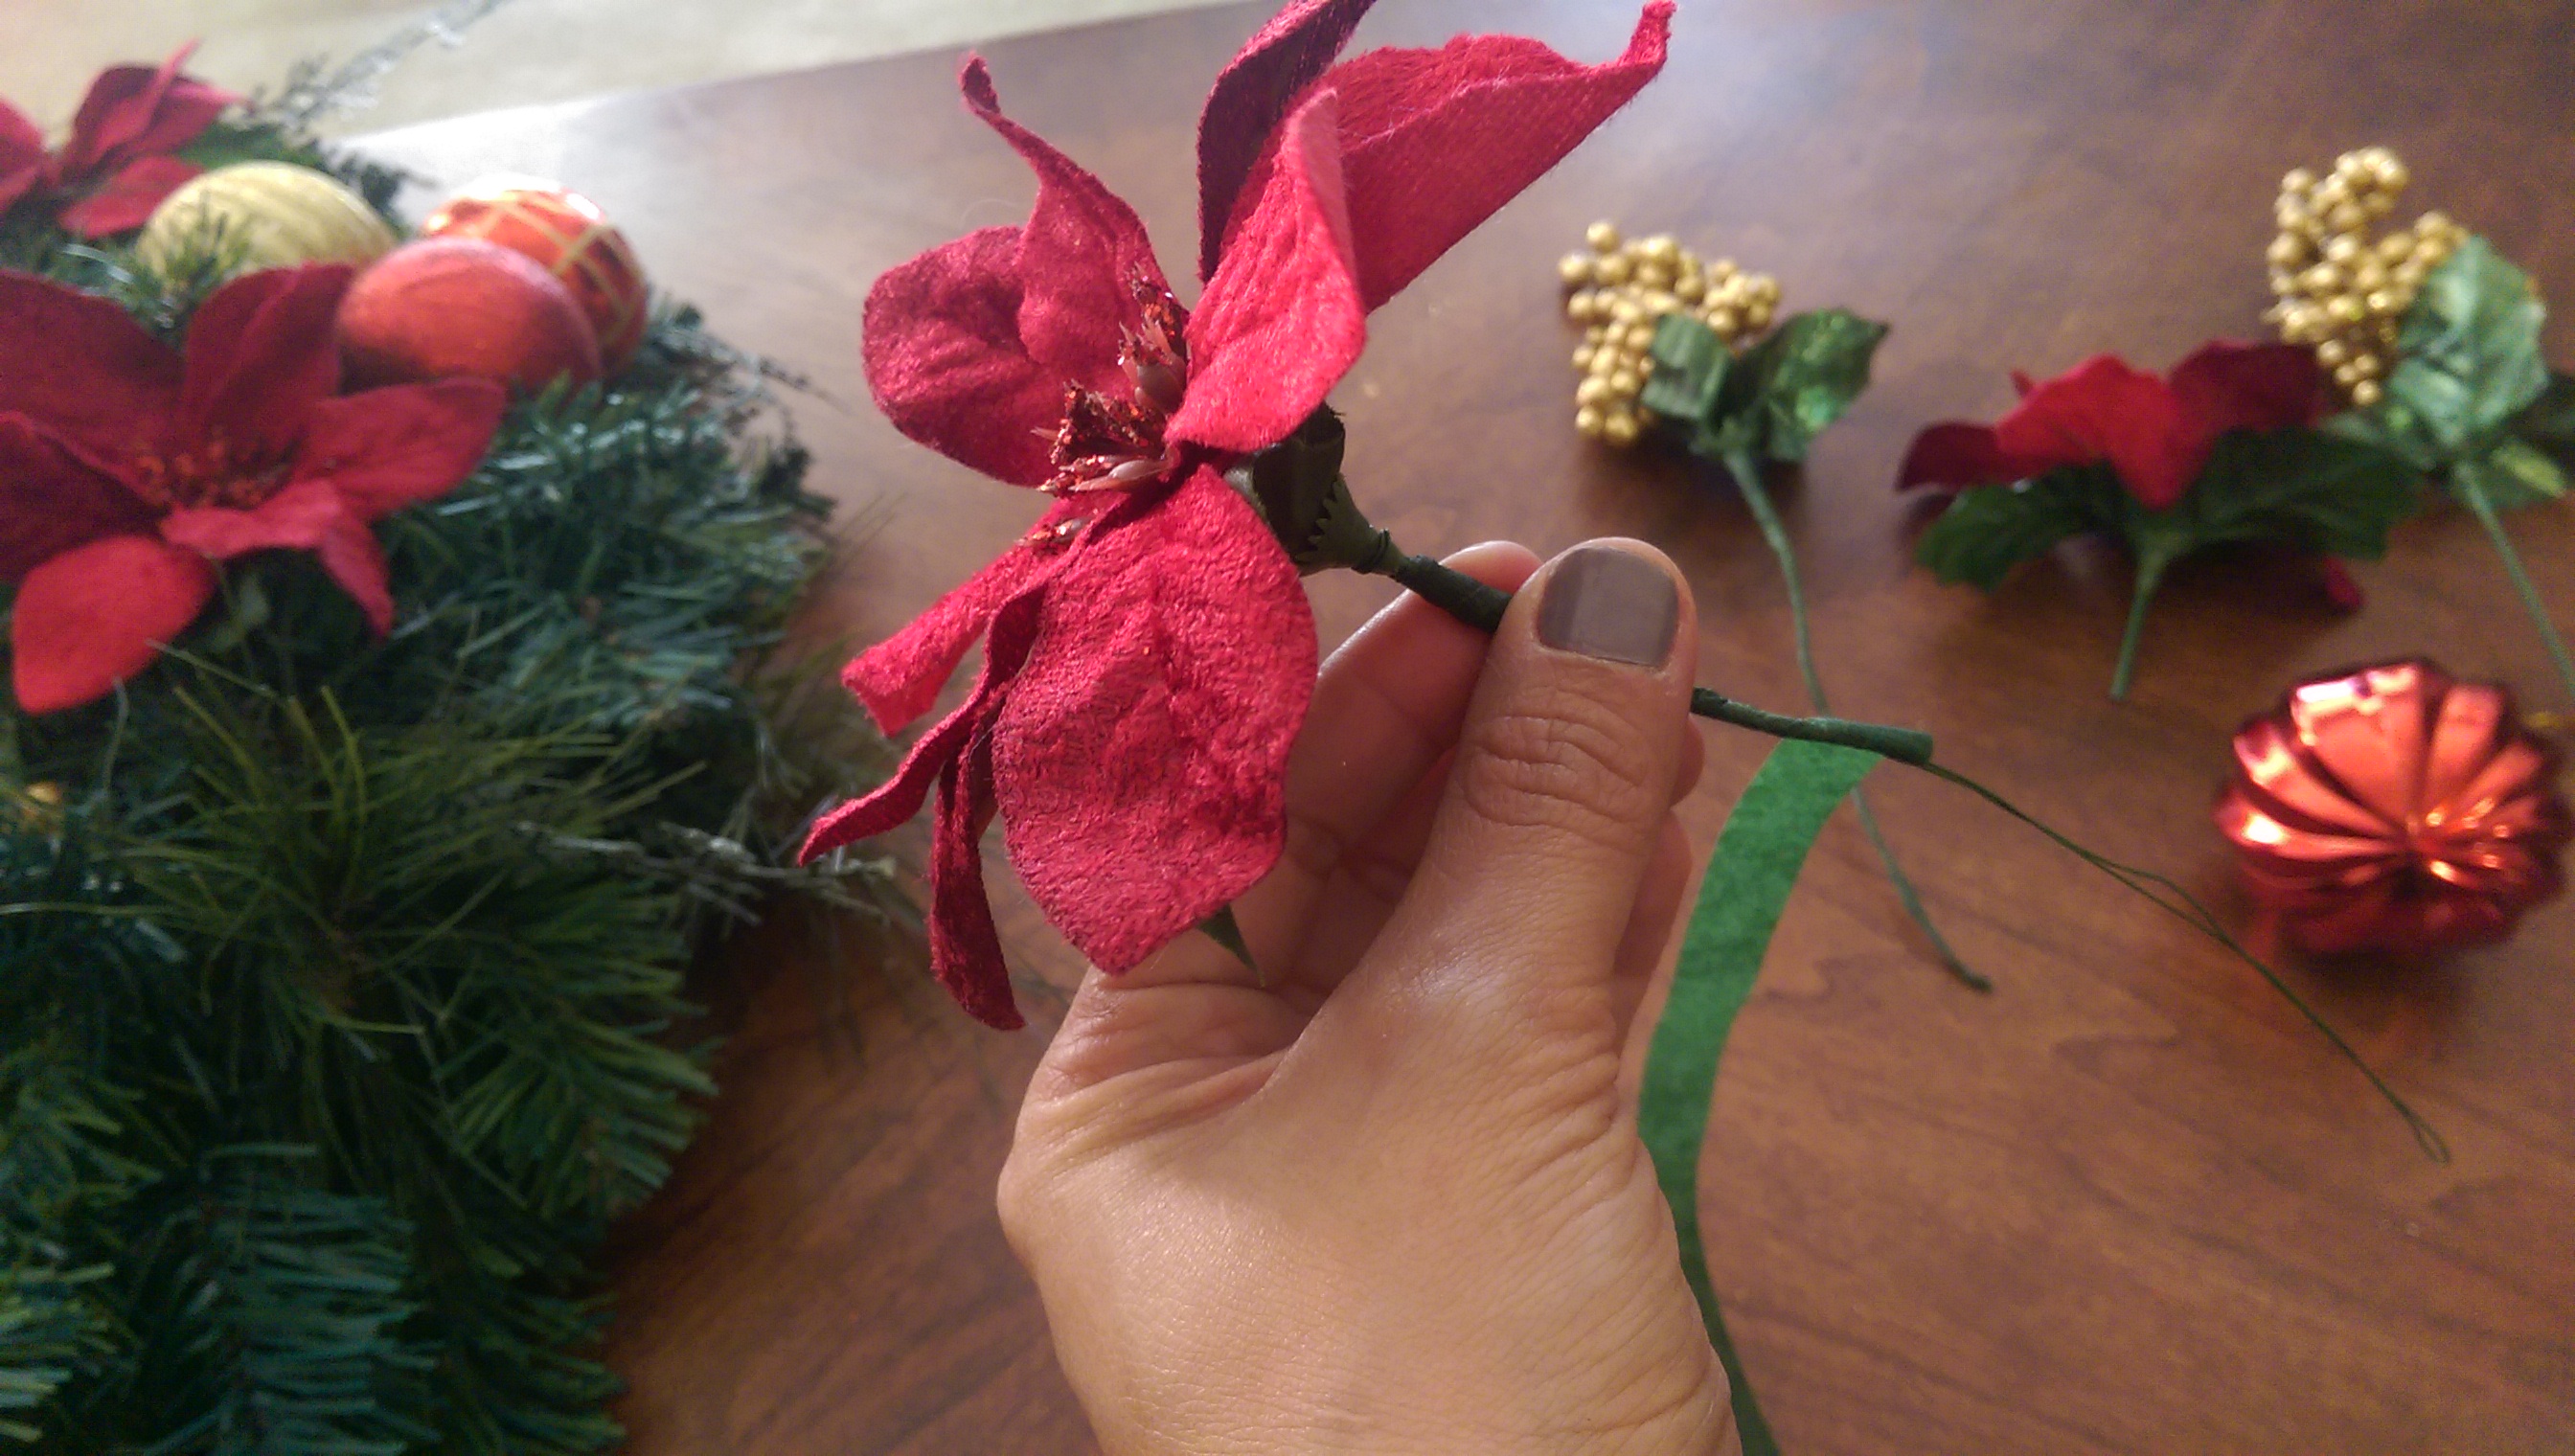
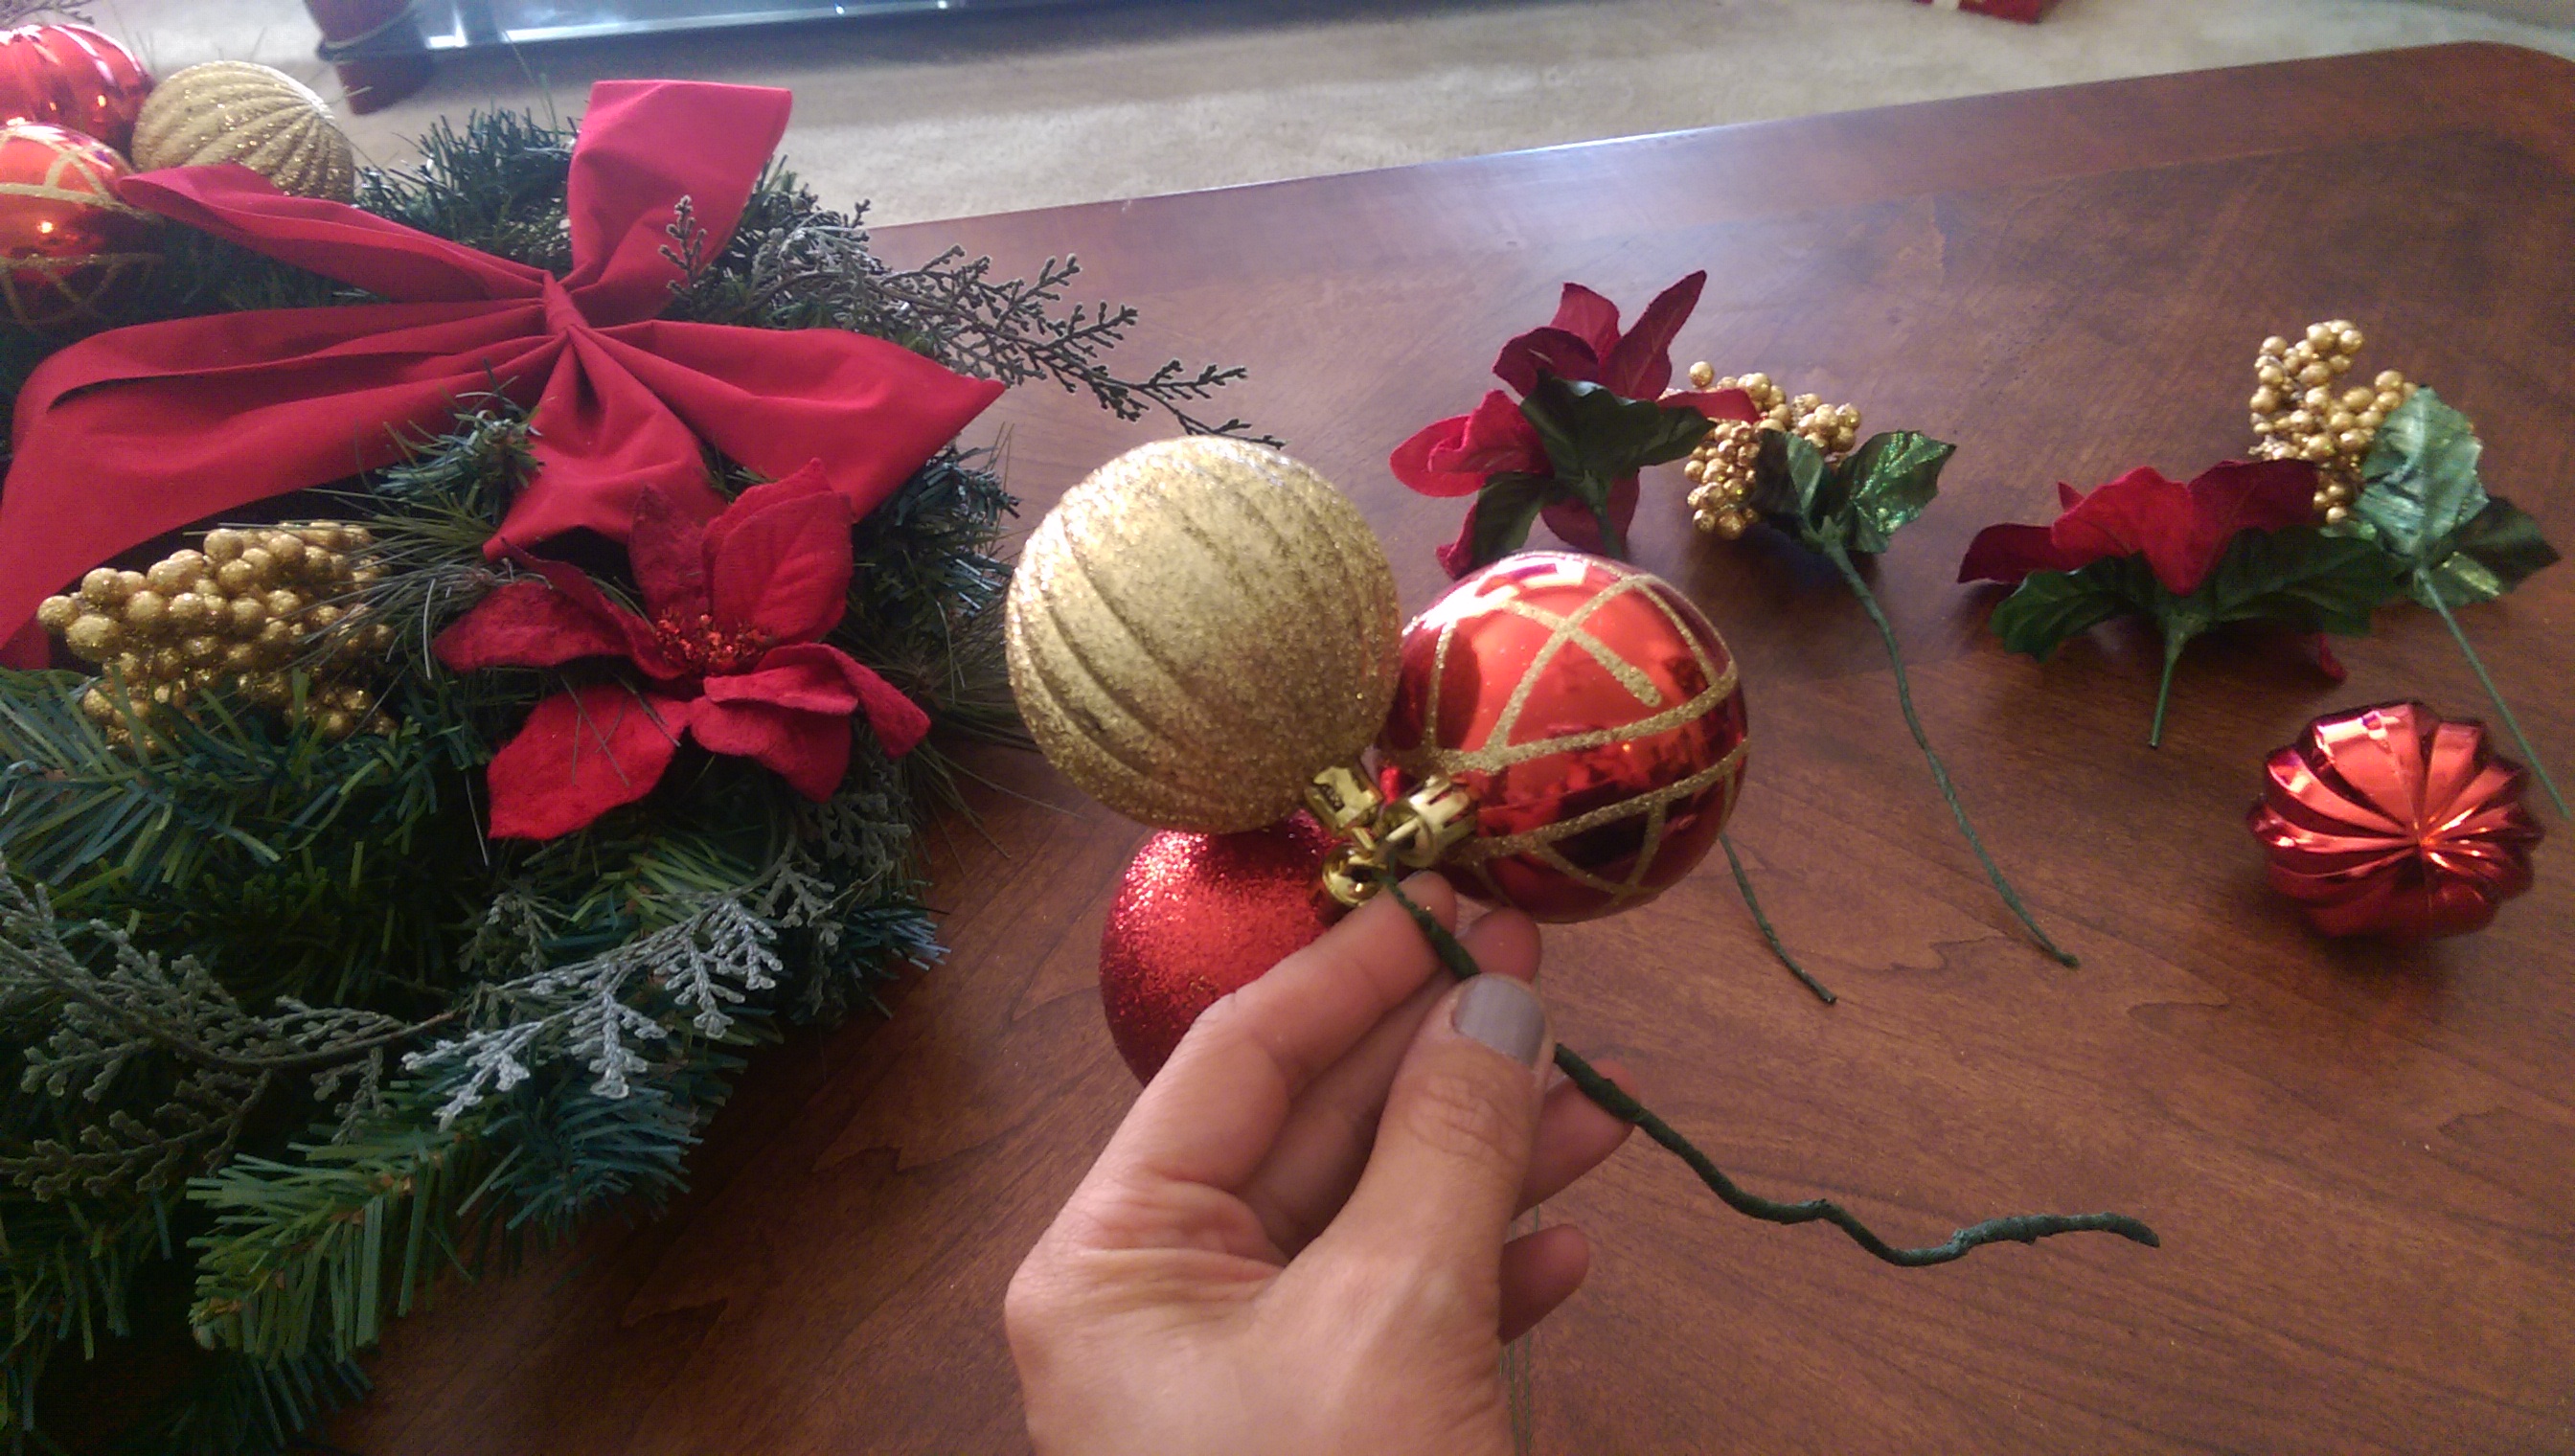
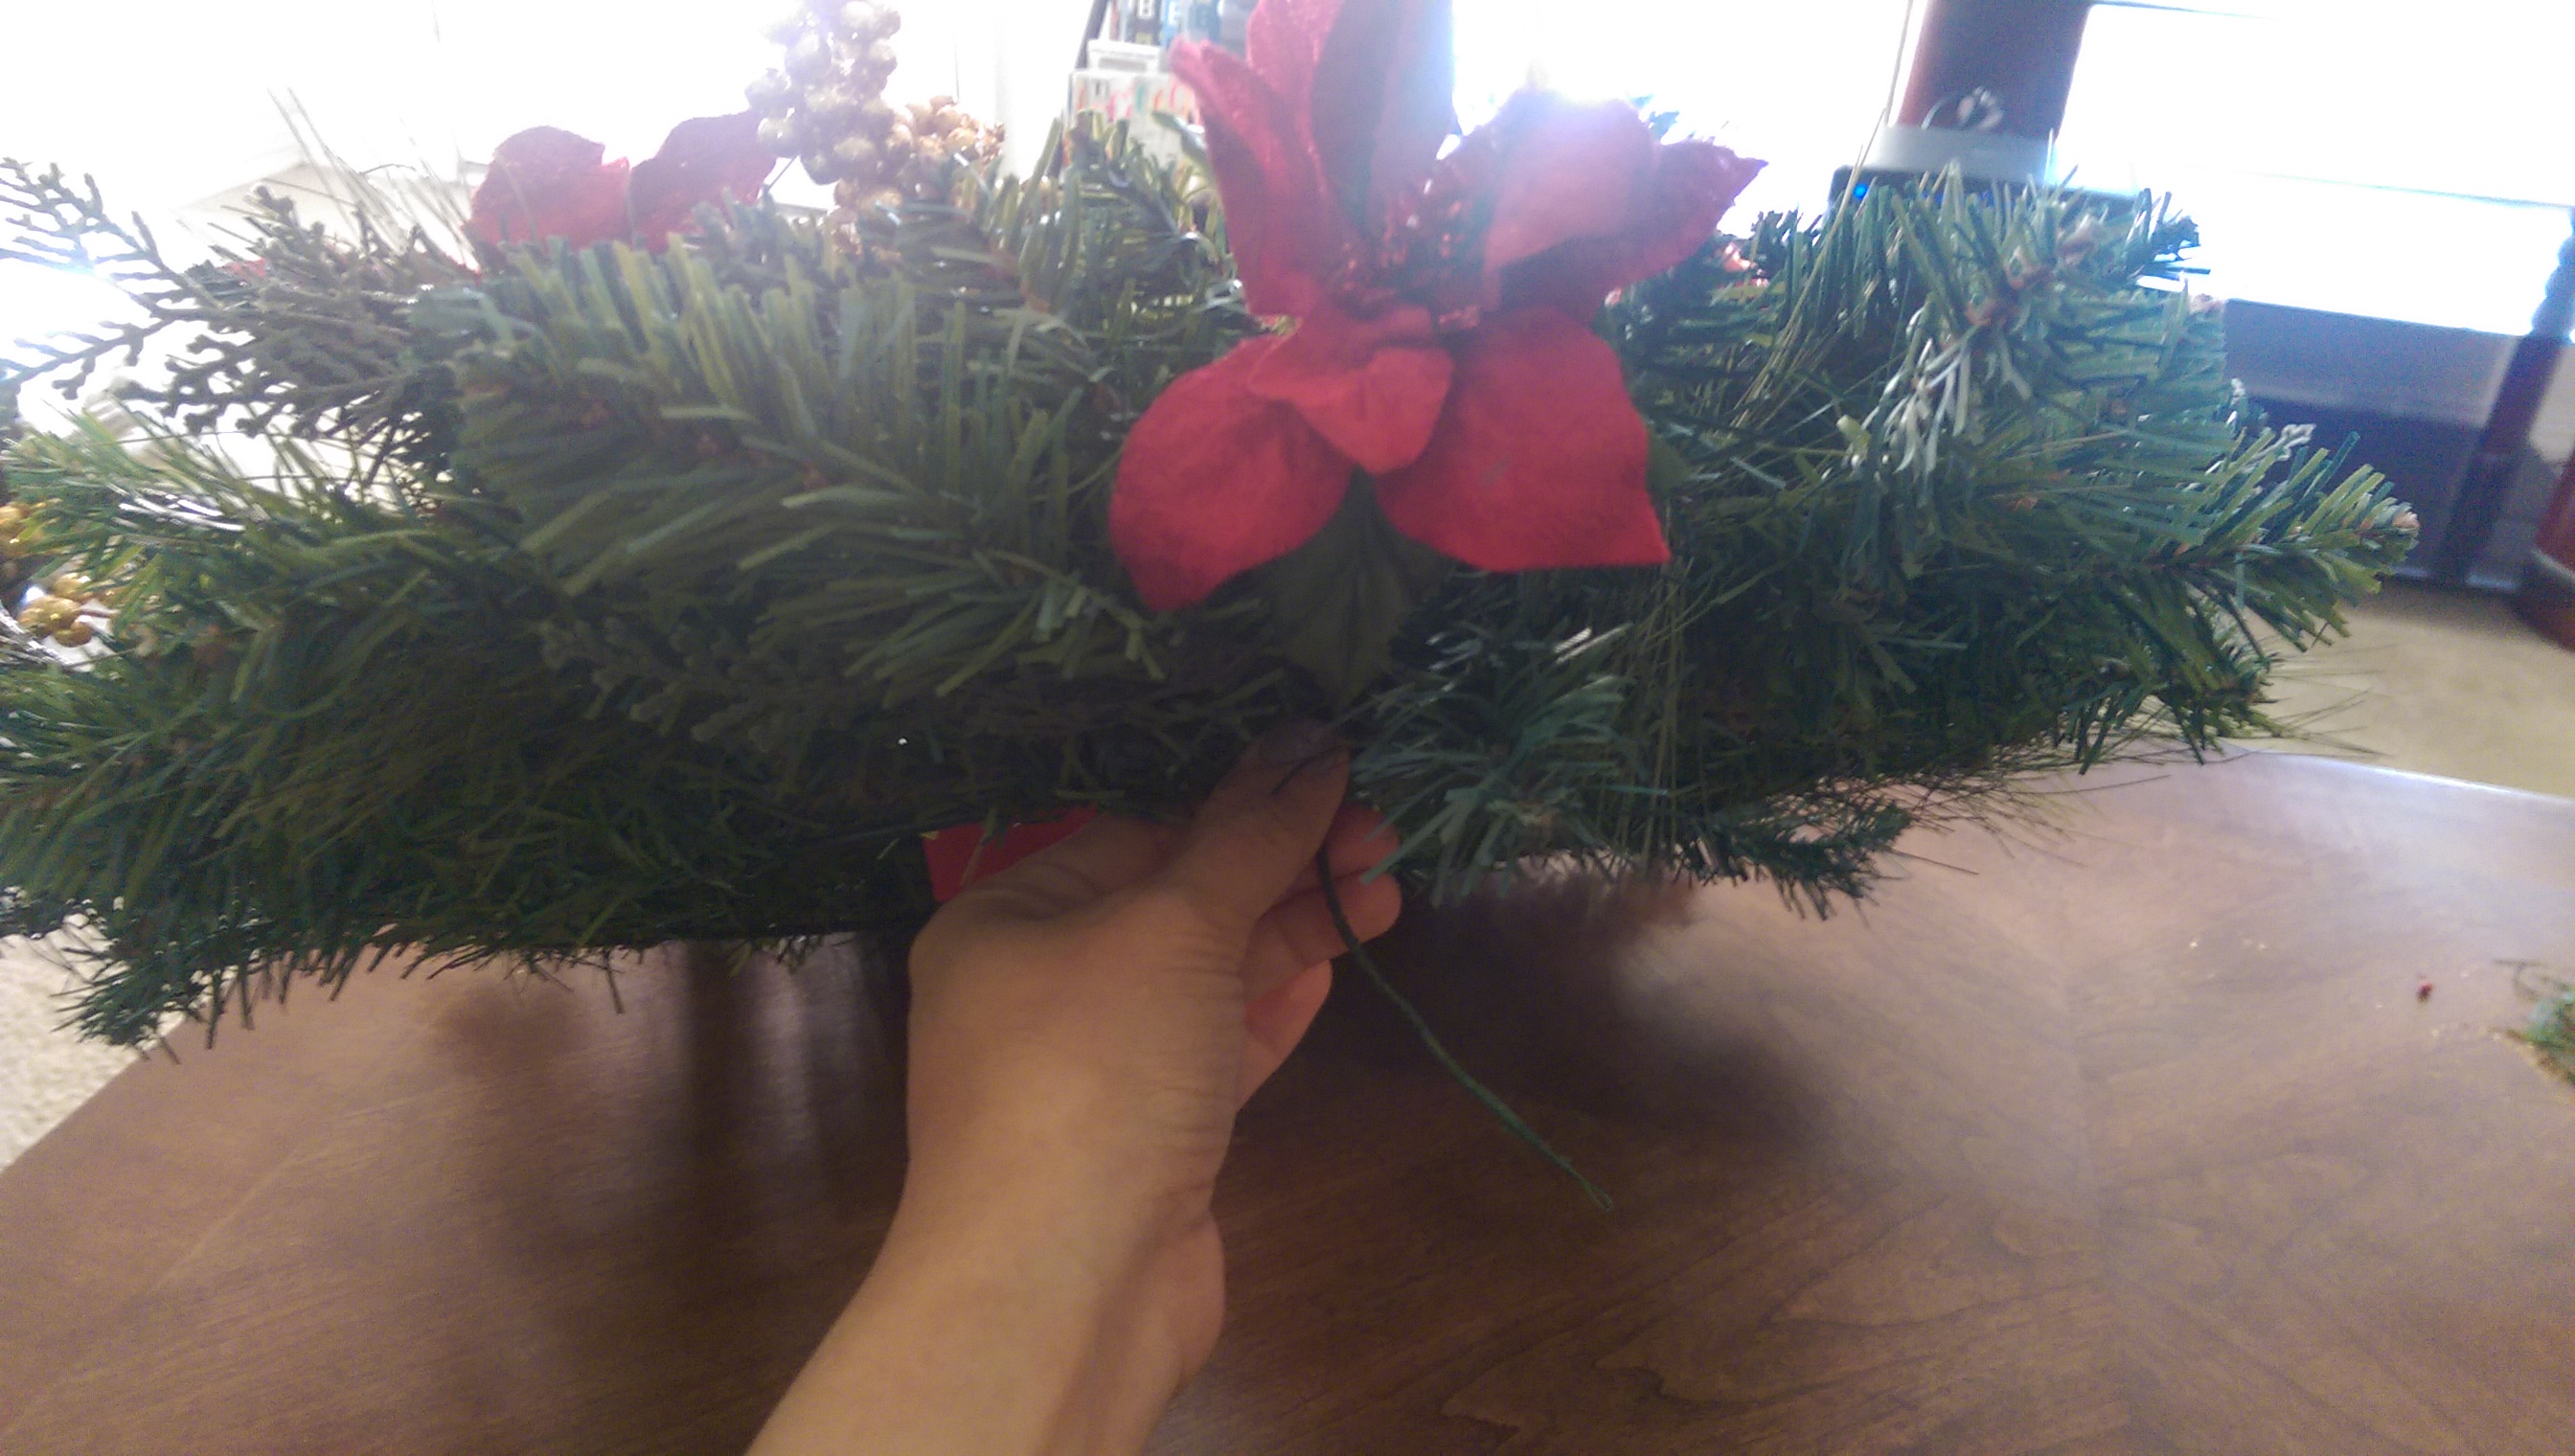
I spent less than $12 on materials to make three flower crowns (and I still have lots left for other crafts.)  Materials can be found at any craft store or your local Walmart. Here’s what you’ll need:

  • Floral wire
  • Floral tape
  • Wire cutter
  • Real or faux flowers and/or greenery

The article or video above provide detailed instructions, but here’s a diagram.  It’s so easy!

My daughter and I made them together.  I added some champagne colored beads to the flower crowns for a jeweled look.  They turned out nice, this one is my daughter’s!

Flower crowns are so versatile!  Bridesmaids, flower girls and even brides can wear them, and they can be worn for other occasions as well.  You can make a simple crown using baby’s breath, or go crazy and add flowers of all colors, shapes and sizes.  The best part? They’re cheap, quick and easy.

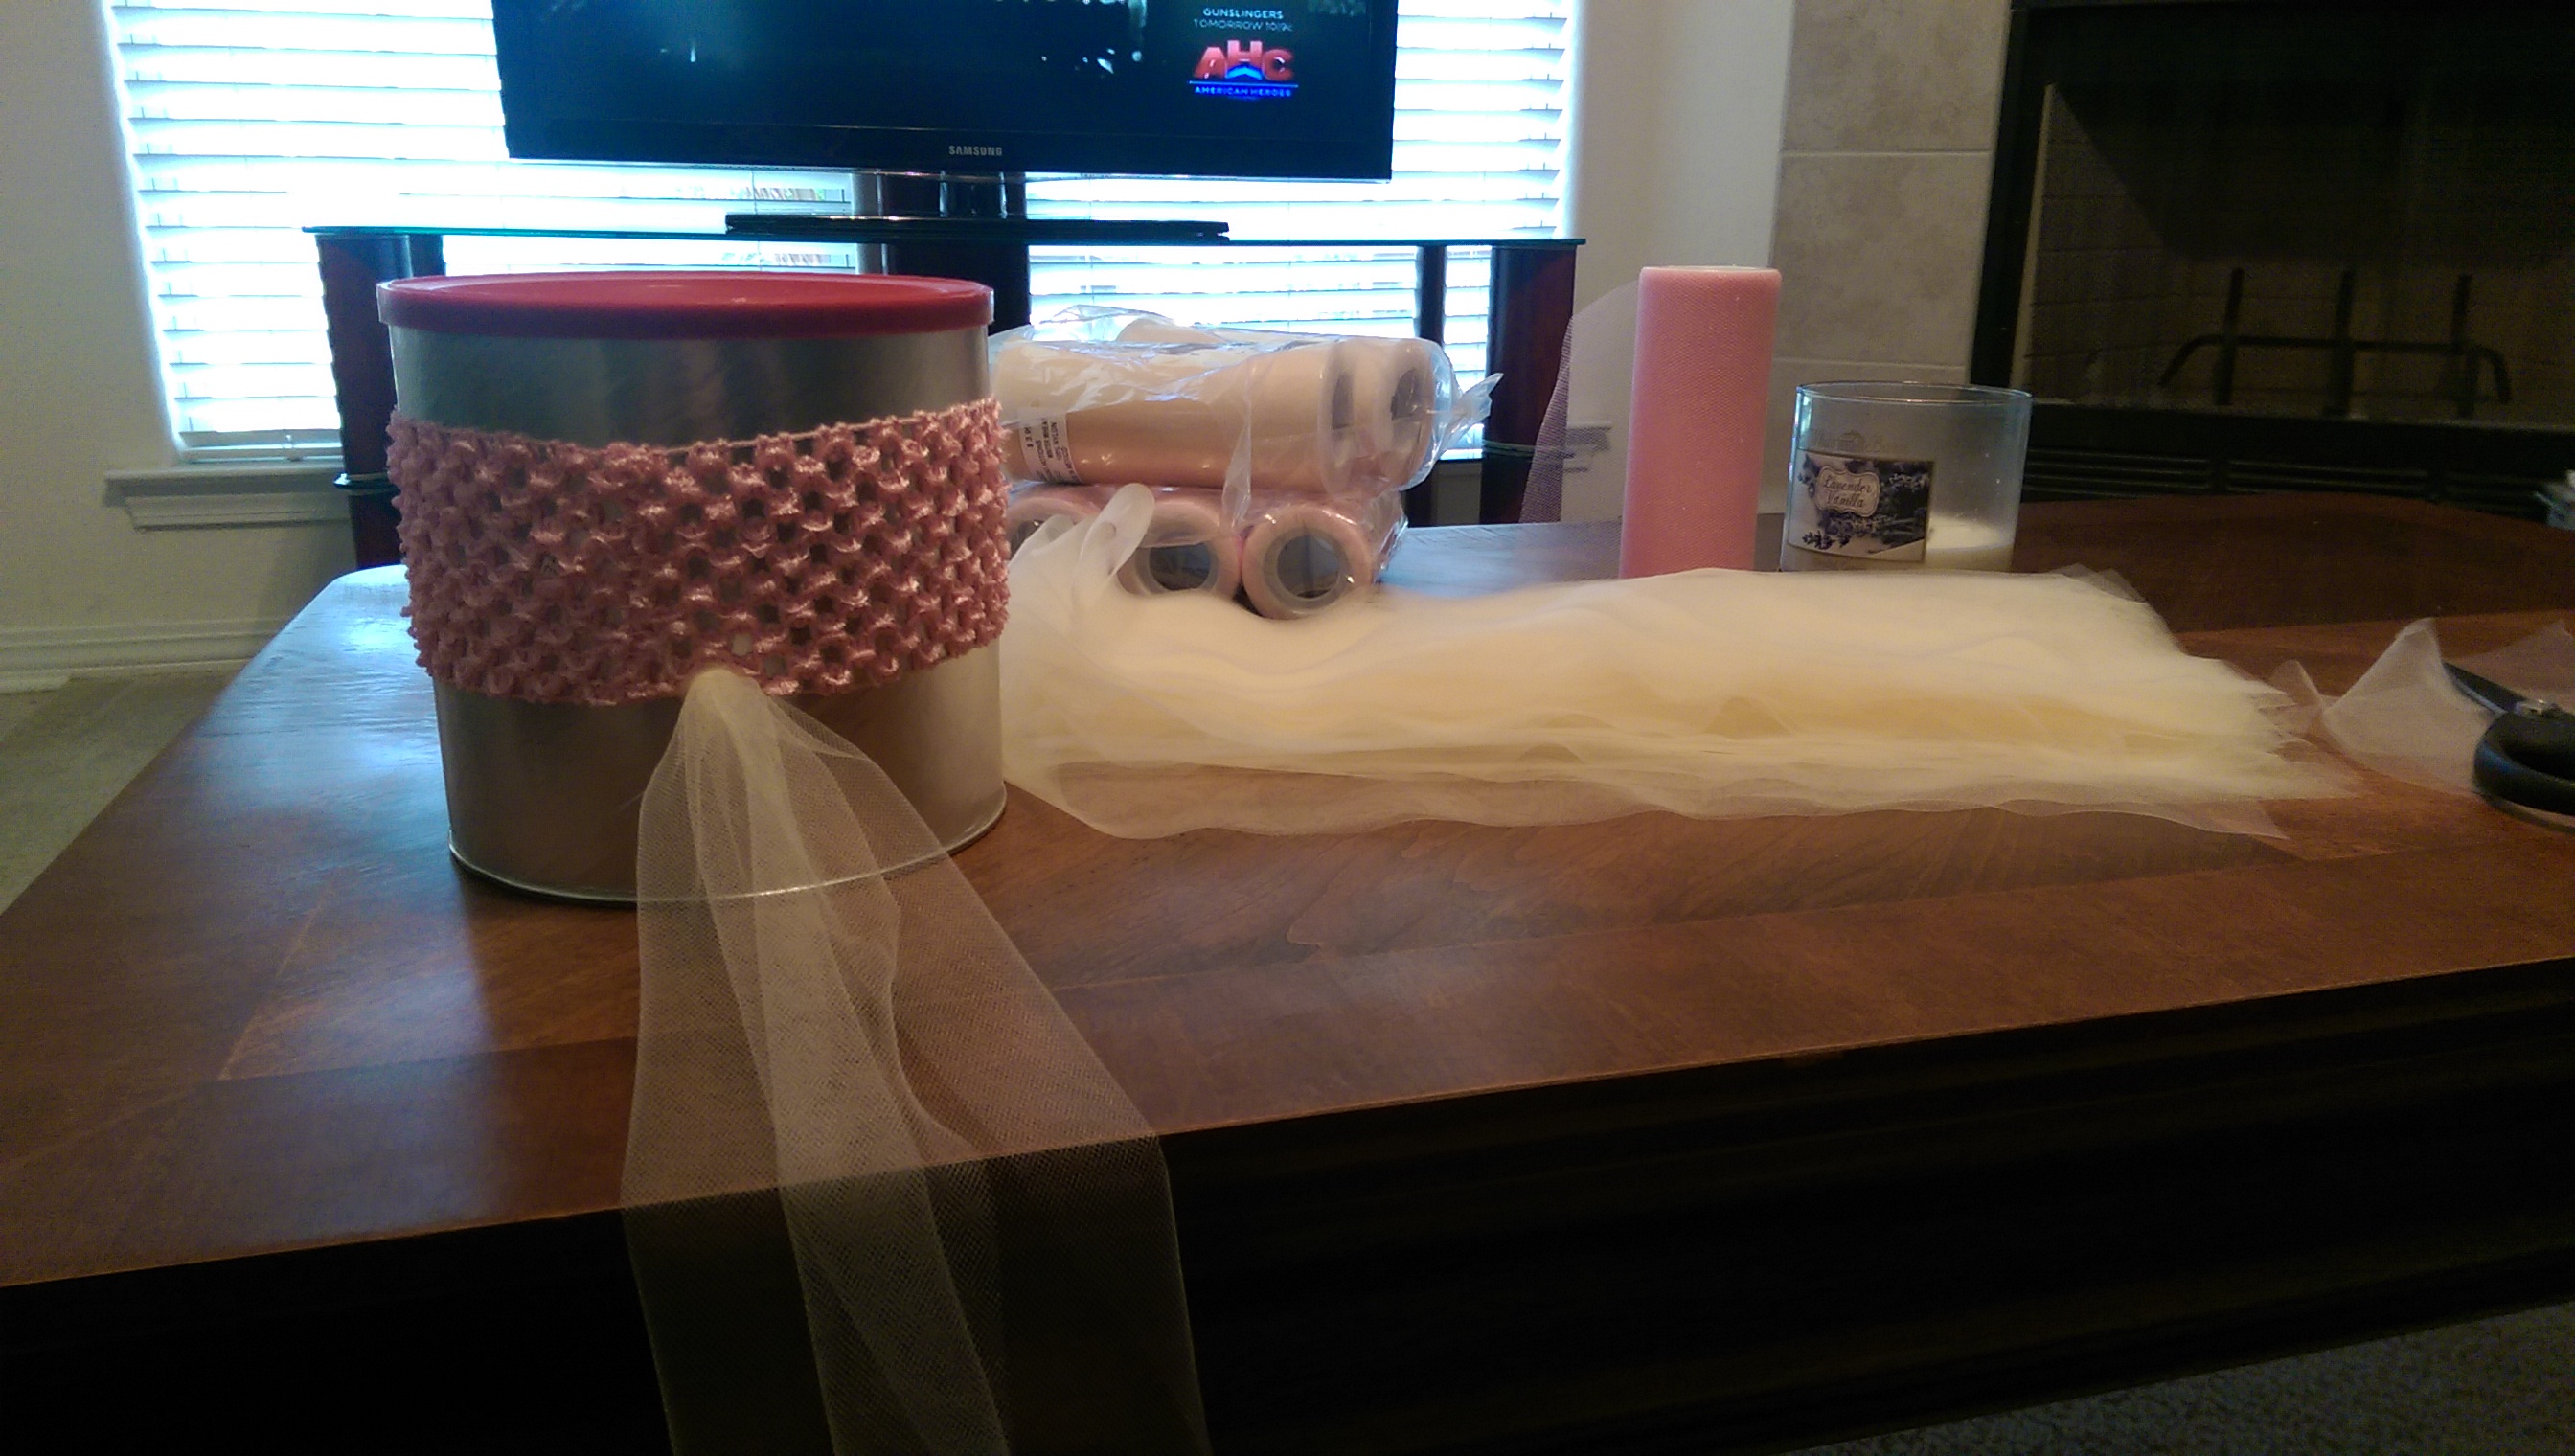
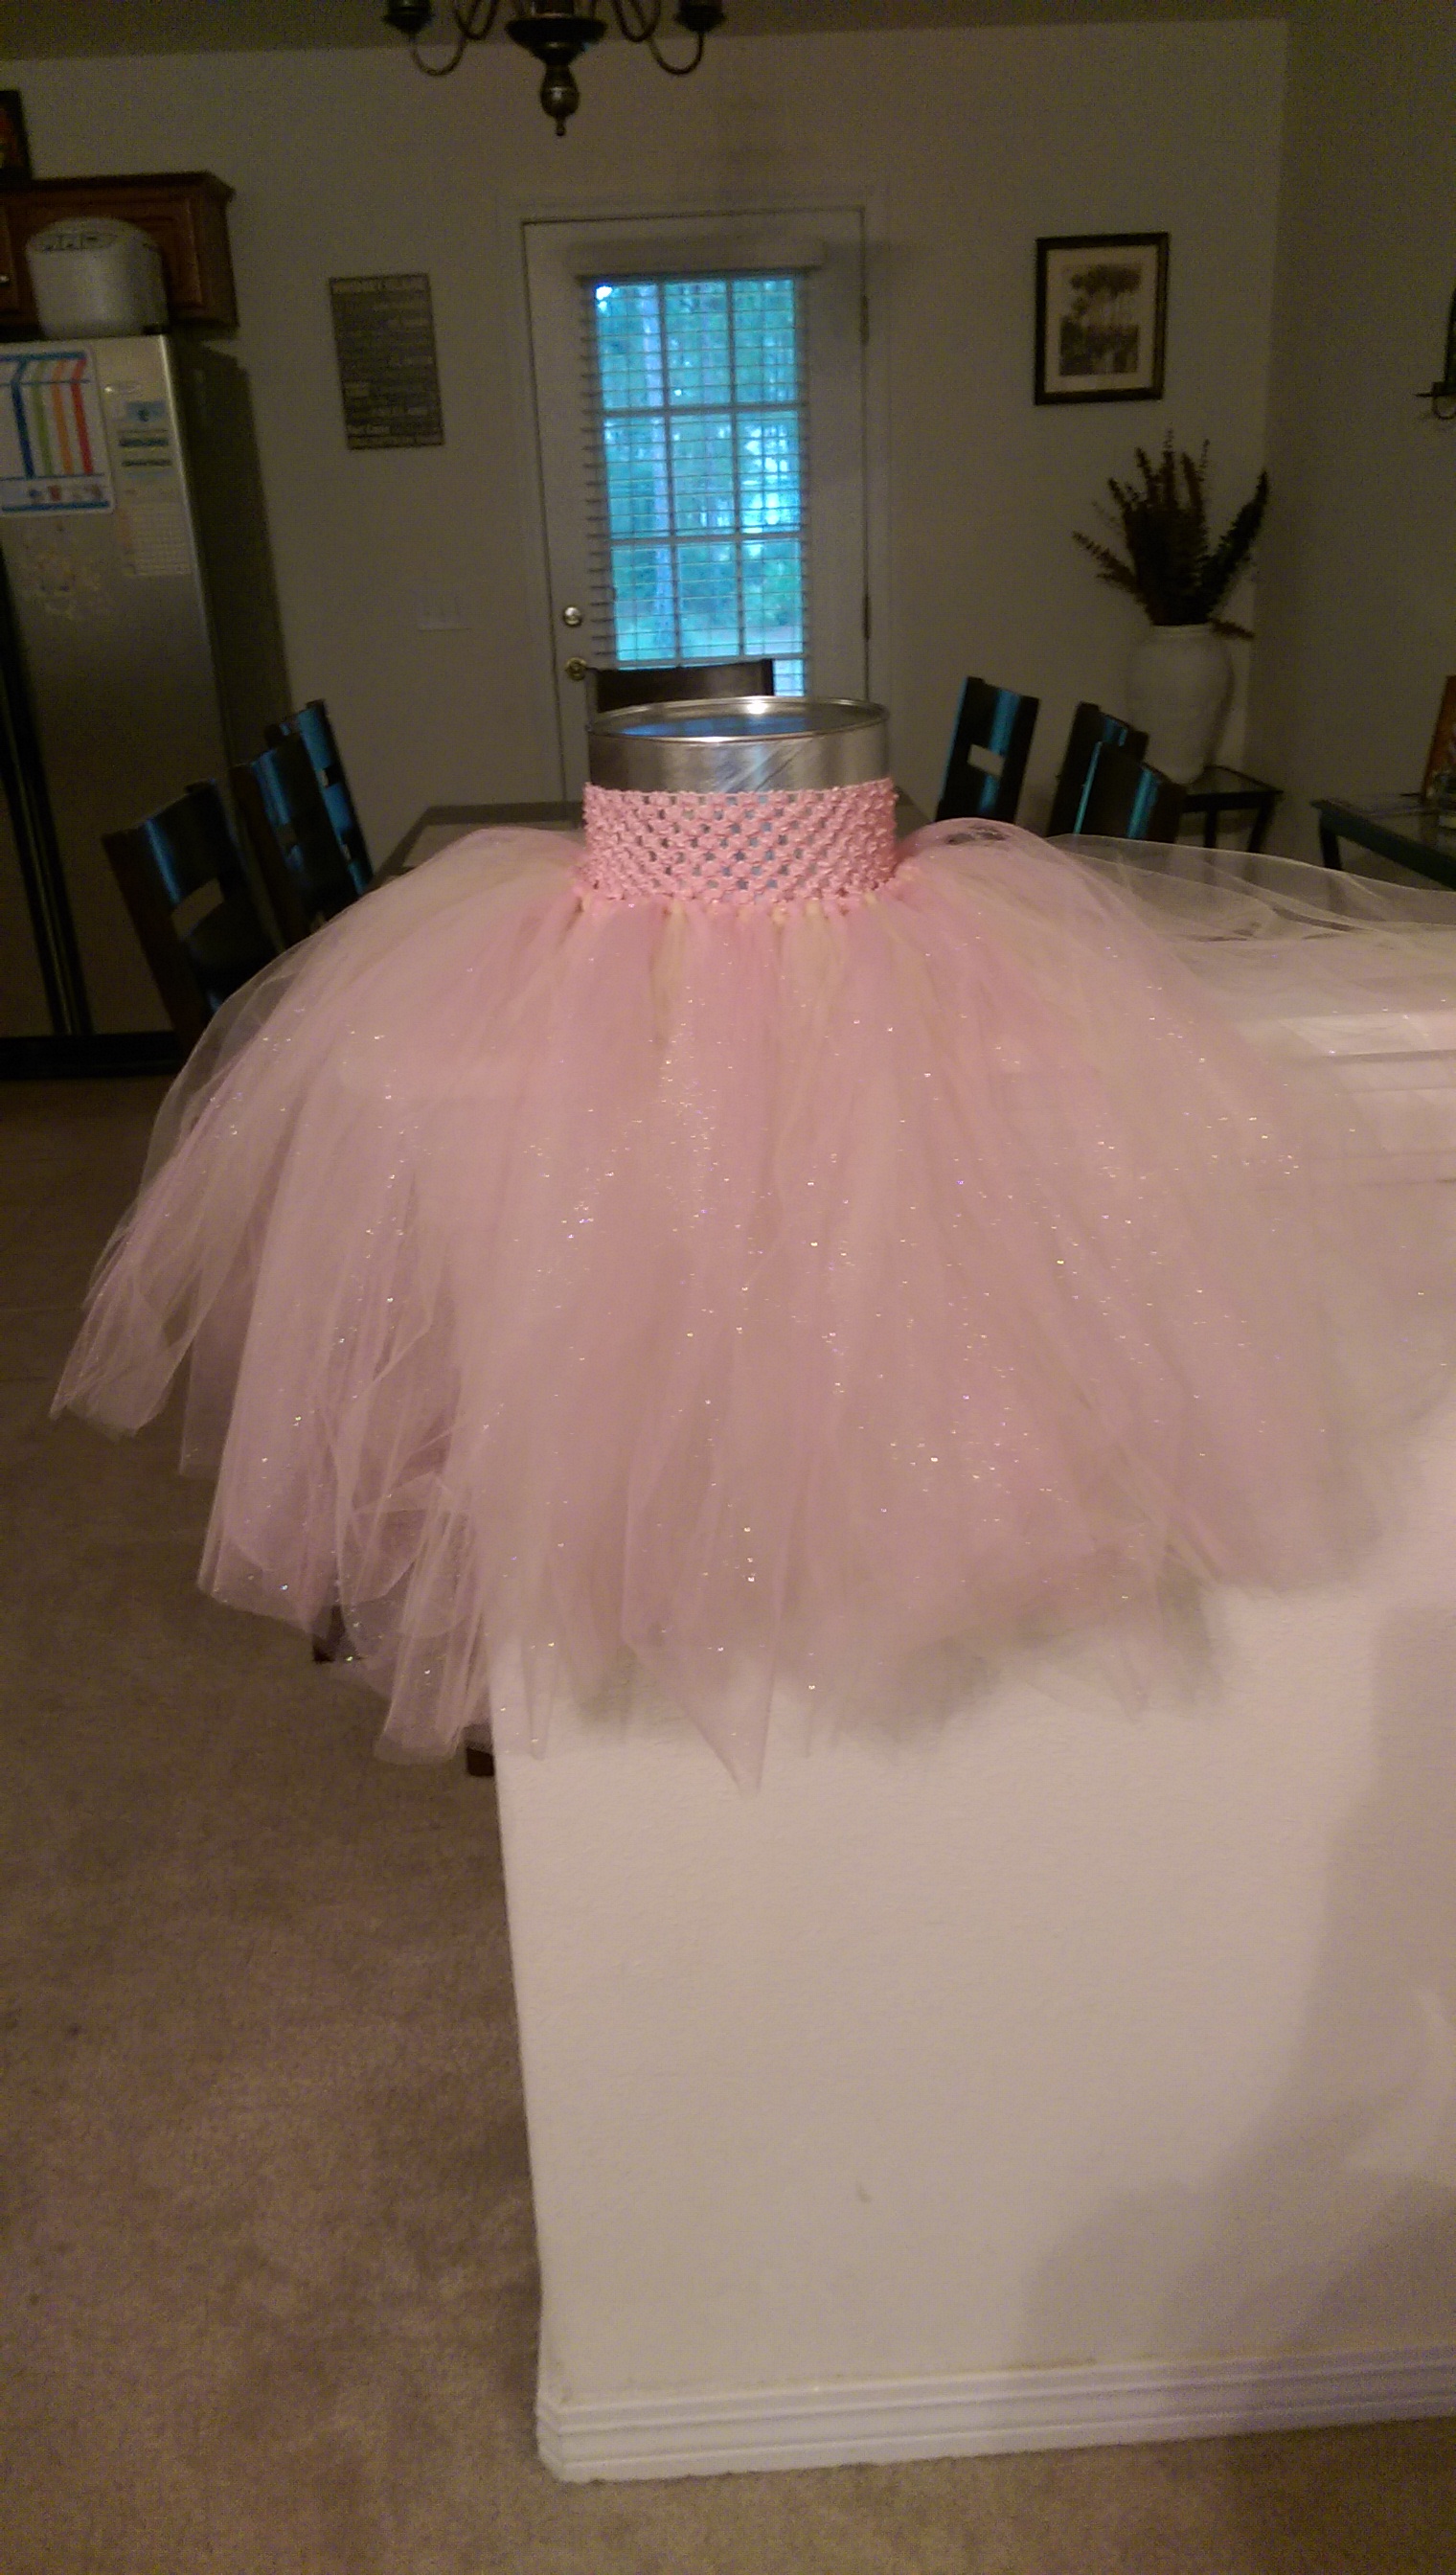
Stay tuned for my next blog and find out what we did for centerpieces.

Advertisement

DIY Christmas Decor

I love Christmastime!  I don’t care about gifts.  I’m not really into holiday shopping.  What I do love…is the decorating!  I love pulling all the boxes out of our attic and getting the house all decked out for the holidays.  I could spend hours perusing the Holiday section in a store, I love taking my time even picking out gift wrapper.  I guess I just love to make things look pretty.

Decorating the Christmas tree is probably my favorite thing about the holiday season.  I remember being a little girl, thinking one day I would have a Christmas tree as beautiful as the ones on display at fancy department stores.  Now, thanks to things I can do all by myself, I do!

Christmastime can be expensive, and I’m not the type to spend an excessive amount of money decorations so instead of buying everything, I like to create things myself to save money.  Check out the look I’ve created in our home by “upcycling” or simply DIY!

IMAG4046

I love my Christmas tree!  I love even more that I didn’t have to spend a fortune to achieve the vision I had for this look.

Many of our ornaments are as old as my marriage (about 11 years old) so instead of buying all new ornaments, I updated the look and add a few new things.

The first thing I did was ornament clusters.  It’s so easy!  All I did was string 4 different ornaments together with gold string (about $1 at Wal-Mart).

IMAG4047

Second, I added red and gold poinsettias.  One bunch of these with about 3-5 poinsettias are only $1 at the Dollar Store, I just used wire cutter to cut them (leaving about 4 inches of the wire) and inserted them into the tree. So easy and simple!

IMAG4048

Our wreath was over ten years old, that’s 1 year older than my daughter!  It didn’t look too terrible, but you can’t really tell how faded the ornaments, flowers and ribbon were.

IMAG4036

First, I used wire cutter to cut out the old stuff I no longer wanted to use.

IMAG4037

Second, I added floral wire to each decorative piece and wrapped the wire with floral tape by simply winding it around.  I did this with each piece.

IMAG4040

IMAG4041

Then, I attached each piece around the wreath by wrapping the wires to the base or a branch.

IMAG4043

Lastly, I added battery operated lights (only $1 at the Dollar store) to the wreath and tucked in the little battery pack to hide it.  Voila…a brand new wreath!

IMAG4044

Here’s what it looks like hanging on the door, all lit up!

IMAG4049

Using the same techniques above, another new thing I added to our house is a garland over our fireplace.  Pine garlands can be purchased non lit or prelit.  I bought some miniature ornaments and clustered them together and attached them to the garland.

IMAG4050

Last but not least, the last project that I haven’t yet completed is a pine cone centerpiece for our dining table.  I picked the pine cones right out of our back yard!  I cleaned, dried (baked in the oven) and spray painted the pine cones with metallic gold spray paint ($5 at hardware store).  I just need to find a big enough vase or bowl while the paint dries.  This is how it will look:

Creating a festive look in your home doesn’t have to cost a lot of money. There are so many ideas on Google, Tumblr, and Pinterest!  It just takes a little creativity and time.  DIY Christmas decor is also something fun to do with kids!

Merry Christmas!


DIY Wedding Ideas

The one thing I’ve (re)learned about planning a wedding is how expensive weddings are!  Even though I’m only planning my sister’s wedding, and not paying for it, I still want to help them save money and stick to a budget.  As my sister and I have been tackling the wedding planning checklist, we go over needs vs. wants, and try to come up with ideas to save on expenses.

In the age of the internet, social media, YouTube tutorials and hashtags, there are so many Do-It-Yourself wedding ideas out there.  Pinterest alone can show you a plethora of things you can do with a mason jar!  If you’re a little crafty, creative, and have the time, there are ways to save money by doing things yourself! 🙂

When discussing what my sister envisioned for her flower girls, I recommended tutu skirts.  I got this idea from a friend who got married a few years ago, her flower girls were the cutest little things in their fluffy, blush pink colored tutu skirts!  I looked them up online, and found that tutu skirts are actually a pretty common alternative to traditional flower girl dresses, and just as beautiful (if not more)!  Initially, we thought we would order a skirt for Cienna who will be a flower girl. Then I got to thinking that with plane tickets, hotel stays, rental cars and other expenses, wouldn’t it be nice to make one and save money?  (I’m a planner, a saver and I’m pretty crafty, I can figure this out!)  Check out these cool videos I found on YouTube on how to make a tutu, here!

Cienna is technically old enough to be a Junior Bridesmaid, but tutu skirts can be worn by younger or older girls.  Either long or short, what I love is that they’re simple yet very beautiful!  How pretty are these flower girls?!


So, with plenty of time before the wedding, I wanted to make sure I could pull this off.  It’s one thing to do a little research, but what if I make something that ends up looking atrocious?  Lol!  I ordered the materials and got to work…

IMAG3682
Getting started!
IMAG3683
First layer done, working on the second layer.

I won’t spoil the fun and post a picture of the final product, or any pictures of Cienna trying it on, you guys will have to stay tuned for future blog posts, but here is a picture of the *almost* finished product:

IMAG3686
Almost done, will probably add some ribbon, maybe another layer?

This is a no-sew tutu skirt, I didn’t need any special tools or materials, just the tulle fabric, crochet headband, a ruler and some scissors.  It took about two to three hours to make because I was being extra careful, and trying to make it perfect!  At first, this was just a project to see if it would turn out, and I’m so pleased with the results. The best part is that they were inexpensive to make.  With less than $50, I made two and a half skirts!  There will be three flower girls so I’ll need a little more material to make the last one.  Now, we just need to find a good top to go with it.  I would recommend these cute tutus not just for weddings, but for birthdays, or for costumes too!  No need to spend a lot of money ordering one, this is a very easy and fun project you can do with your special little girl, just Do-It-Yourself!